Do your kids need Valentine’s Day cards for all of their classmates?
Tired of buying the same old valentines as all of the other kids, full of commercial characters and silly sayings?
Looking for a fun art project you can do together?
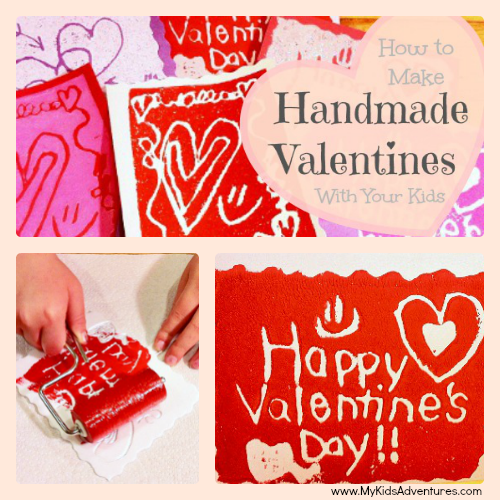
Create your own unique handmade valentines this year.
In this article, I’ll show you how to use a simple printmaking technique to design and print your own Valentine’s Day cards that will win everyone’s heart.
Why Make Handmade Valentine’s Day Cards?
Valentine’s Day is a time to celebrate and appreciate those you love. It is very common for friends and family to exchange valentine cards as a small token of affection. Why not create a unique handmade personalized valentine instead of using the same store-bought ones as everyone else?
According to History.com, Americans have been exchanging valentines since as early as the 1700s. By 1900, printed cards began to replace handmade valentines due to advancements in printing techniques.
Valentine’s Day is one of the largest card-sending holidays of the year, second only to Christmas.
By creating handmade cards, you give your kids a chance to be creative and express themselves while they make art that can be shared with their friends and loved ones.
Printmaking is an easy way to turn one drawing into many cards that can be shared with your family and friends. Each printed card is a unique piece of handmade art!
Printmaking is a versatile art technique that is easy to use with your kids. In the method I’ll show you below, you use Styrofoam plates to create and transfer your art onto paper. You can make your designs as simple or complex as you’d like.
Watch this video for an introduction to the Styrofoam block printing process.
This project is easy and fun for kids of all ages, moms and dads included! Here’s what you need:
You Will Need
- Construction paper
- Styrofoam plates that you trim or foam printing plates
- Printmaking ink
- Brayer (ink roller)
- Scissors
- Pencils
- Paper towels
Preparation Time
10 minutes to gather supplies
Activity Time
30+ minutes, depending on how many cards you would like to print
Location
At home on any table or counter that has enough space to work
#1: Gather Supplies
Collect everything you need for this project so you have your supplies easily at hand while you work.
You will need one Styrofoam plate for each card design.
Choose colors of paper and ink that you think will make good valentine combinations.
#2: Cut Your Valentine’s Day Cards
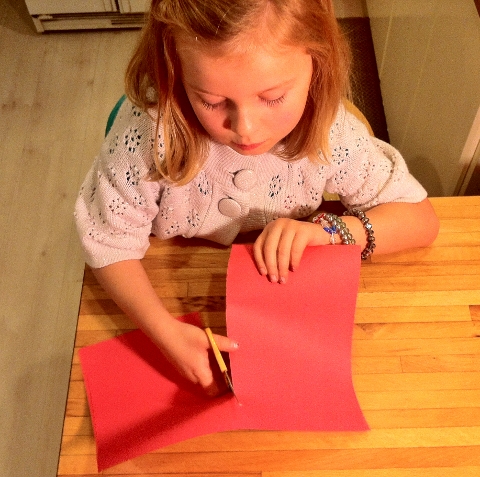
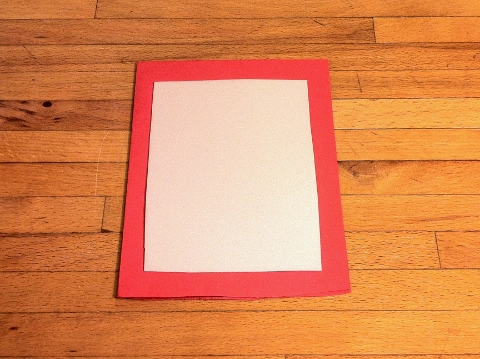
Each piece of construction paper will make two Valentine’s Day cards. Fold each paper in half first to make it easier to cut along the fold line. You will need to cut each piece of paper in half.
#3: Preparing Your Card and Plate
Fold each of the cut pieces of construction paper in half to create your Valentine’s Day cards.
The Styrofoam plates will be used to create your ink plate.
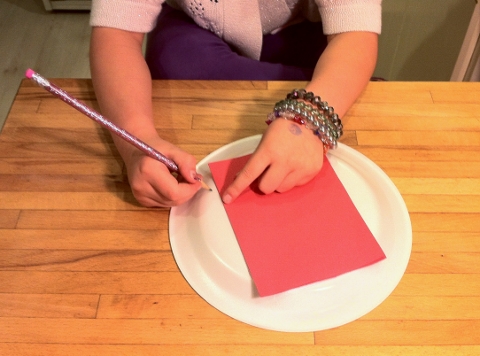
Turn a plate upside down on your table. Lay your card on top of the plate and trace along the edges to get an idea of how big your card is. This will give you a guide to know how big to make your ink plate.
#4: Cutting Out Your Plate
Now that you have a guide for how large to make your plate for your card, you’ll need to trim it out from the bottom of the plate. You will only need the flat bottom part of the plate. Cut a flat rectangle from the plate. Place it on top of your card to make sure you have a good fit. Once you’ve cut your card shape out from the bottom of the plate, set it aside. Cut one plate for each different design you would like to make. It’s a good idea to have a few extra plates on hand just in case you make a mistake. Each card you design will need its own plate. Once you have enough plates cut, you’re ready to draw!#5: Drawing on Your Plate
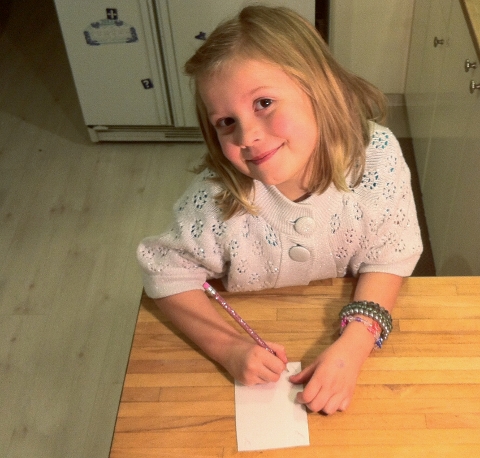
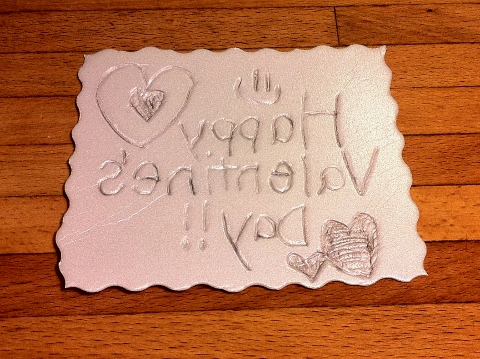
Now it’s time to create your work of art. Draw the design you want to print on your valentines on the Styrofoam with a pencil. Keep in mind that the design will print backward.
The secret to printmaking with Styrofoam plates is that you push down firmly with your pencil on the plate while you draw (this is called inscribing). The plates are soft, and with pressure, your lines create little grooves in the plate. Just be careful not to push so hard that you push all the way through the plate.
With this printmaking technique, your artwork will be left uncolored. The ink will color the negative space—the space you did not draw on.
So when you roll ink onto the Styrofoam, you’ll notice that the ink will not go into the grooves made by the pencil. These areas will show as your drawing on the paper.
Here are some things to keep in mind while you draw your valentines:
- Use a pencil that is a little bit dull. If your pencil is too sharp, it might puncture the plate.
- Take your time. You can draw lightly on the plate first to create your design then go over the drawing with more pressure to create the grooves once you are happy with your drawing.
- Have lots of plates handy in case you make a mistake.
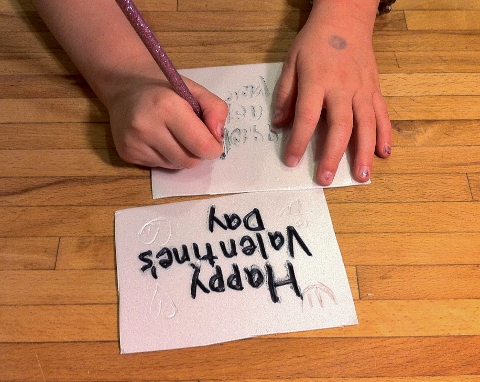
- If your design includes words, write the words in reverse (like what you see in a mirror).
I’ve created some easy steps to follow below for creating cards with writing.
To Write Words Reverse/Backward on a Plate for Printing:
- Write your greeting on a spare sheet of Styrofoam.
- Use a felt-tip non-permanent marker (marker that is very wet ideally) and write the words you would like on the Styrofoam plate.
- Press the plate with the marker on top of a new clean plate.
- When you separate the plates, you will see a reverse/backward marker impression of your words on the new plate.
- The marker will leave you something that looks like a stencil. The letters should appear in reverse.
- Trace over the marker impressions in the second plate with a dull pencil.
- Make sure to press hard enough to create deep grooves with your pencil, but be careful not to push through the plate.
- You’ll use the plate with the reverse/backward writing to print your card.
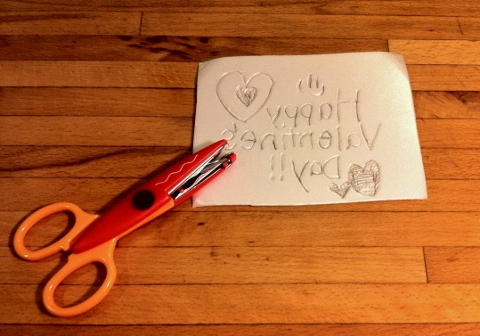
In your finished drawing on the Styrofoam, you will see the words backward, but they will print like you normally read and write them.
If words are too tricky, just stick with simple shapes and designs for your cards, especially for very young children.
You can use special scissors to create a fancy edge for your design if you’d like.
The edges of your Styrofoam will show in the final product. You can dress them up with fancy scissors.
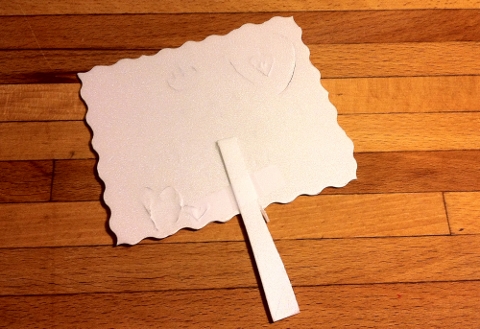
Once you finish the artwork on one of the plates, turn it over and use tape to attach a small piece of one of your plate scraps. This handle will make it easier to move your plate once it has ink on it and help keep your fingers clean!
Glue a scrap of Styrofoam on the back to use as a handle. This will help when your plate is covered with ink.
#6: Ink Your Plate and Print Your Card
Once you have your drawing completed, you’re ready to start printing
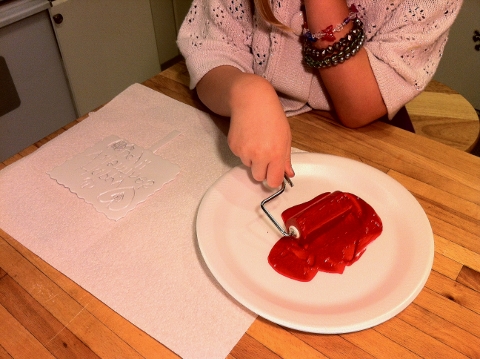
Spread out some paper towels to cover the area where you will be inking your plate. Squeeze out about an inch or so of ink onto one of the untrimmed Styrofoam plates.
Roll your brayer (ink roller) back and forth in the ink about 30 times.
You want to make sure it’s evenly coated with a thin layer of ink before you use it.
Then roll the ink-covered brayer over your artwork on the Styrofoam. You’ll notice that the areas you indented with your pencil do not get covered in ink.
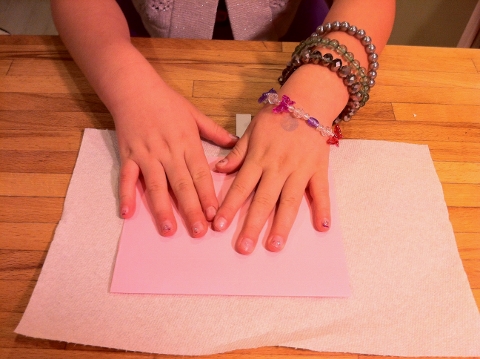
Be careful not to rub or slide the card, as it will smear your print.
Carefully peel apart the paper and the plate to reveal your printed card.
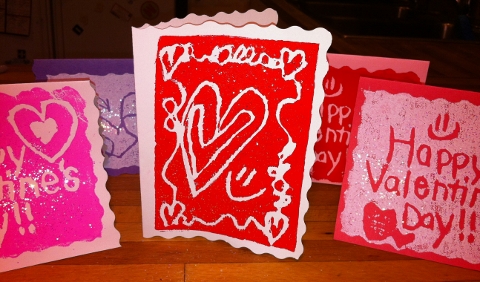
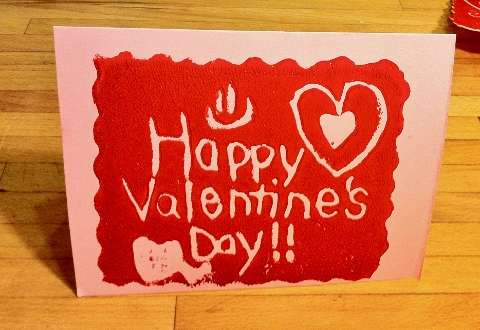
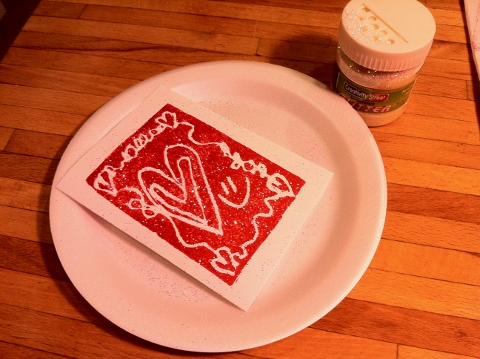
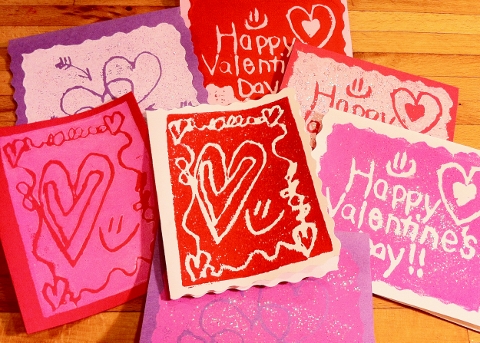
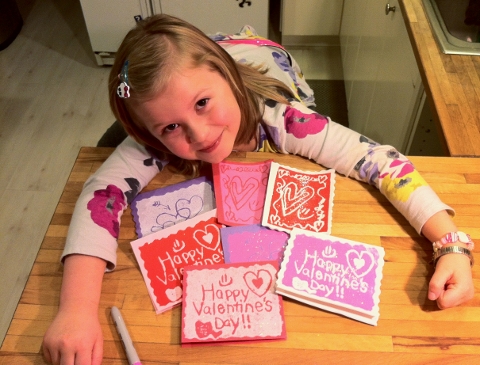
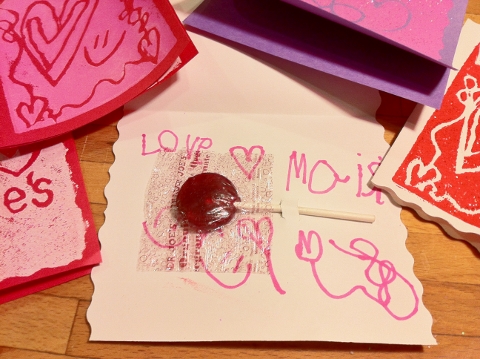
Voilà! Your printed valentine!












Congrats! that really was a great share!
Thank you Mari! I’m excited to plan more fun creative time. If you haven’t already – I highly recommend subscribing to My Kids’ Adventures. Great fun adventures to spend time as a family delivered right to your inbox!
such a crafty kid, just like her mom.
Thank you! We love to be creative!
Congrats again on being a MKA contributor! Hope you got your next article out in time over the weekend. Keep up the great work!
Thanks for the reply Chris! My next article has already been submitted and you’ll see it next month!
You have such fantastic, artistic ideas! We’re happy to have you aboard at My Kids’ Adventures!
Hi Kristin! Thank you so much for your stopping by. I’m so glad to have found My Kids’ Adventures, I look forward to many more creative ideas to share with you!
Hi Crystal,
Just checking out your blog as well and wow! This is a great site! Glad we connected 🙂
Hi Blu! Thanks for checking out my blog! I’m glad we connected too. Have some creative fun with that little one :)!